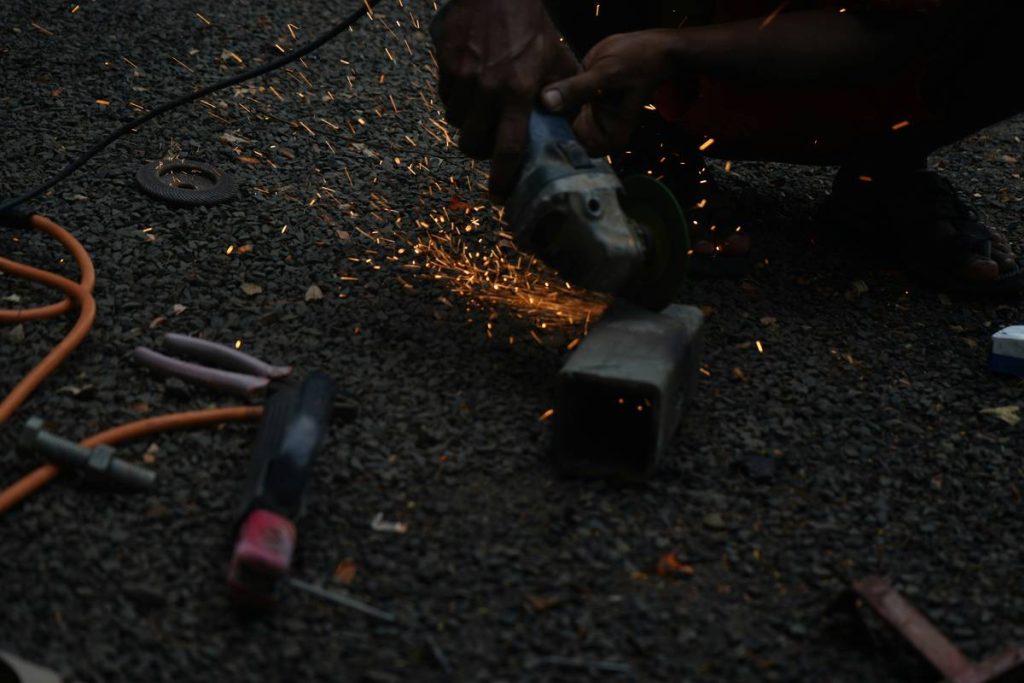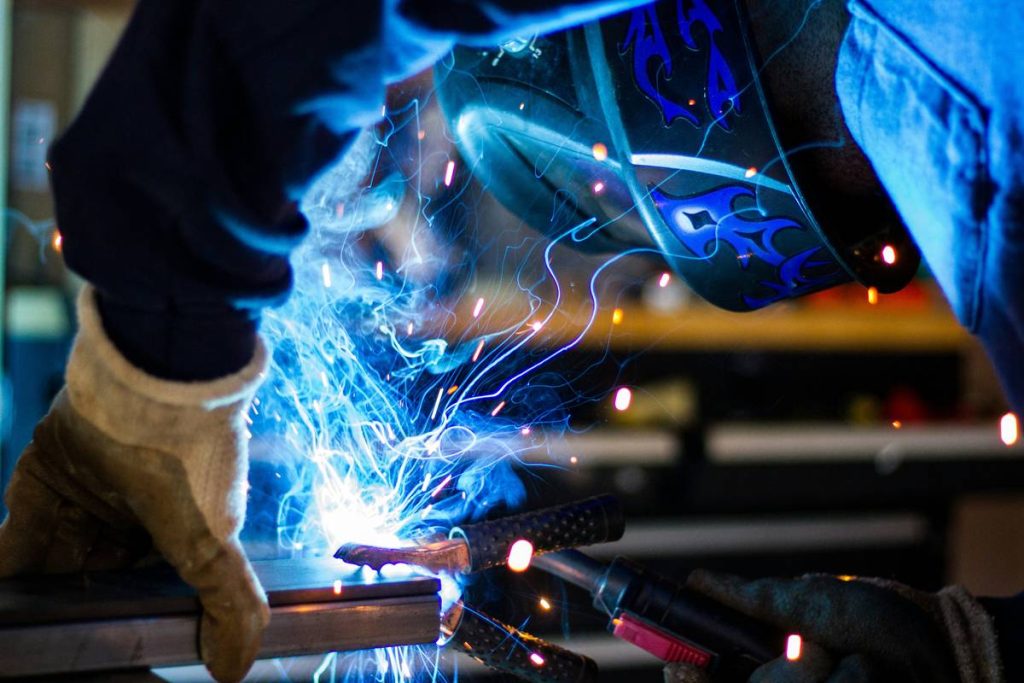
Ever stared at a pile of scrap metal and wished you could turn it into something sleek, functional—or even artistic? You’re not alone. With the rise of affordable desktop CNC plasma cutters, hobbyists and weekend warriors are diving into metal fabrication like never before. But here’s the hard truth: without the right approach, your “cool CNC plasma projects” can quickly become expensive, frustrating messes. I’ve been there—welded my gloves to a table (don’t ask), melted a $200 consumable set in under five minutes, and once cut a perfect spiral… in the wrong piece of steel. This guide cuts through the noise with seven battle-tested strategies to help you create stunning, precise work—safely and efficiently. We’ll cover essential safety protocols, material selection, design best practices, and real-world project ideas that actually deliver results.
Table of Contents
- Why Cool CNC Plasma Projects Matter in Home Improvement
- Step-by-Step Guide to Starting Your First Project
- Essential Tips for Flawless Results
- Real-World Examples That Work
- Frequently Asked Questions
Key Takeaways
- Start with thin-gauge mild steel (14–18 gauge) for cleaner cuts and lower power demands.
- Always verify torch height control—manual setups often lead to dross buildup or incomplete cuts.
- Use vector-based design software like Inkscape or Fusion 360; raster images won’t translate to clean G-code.
- Never skip grounding—poor grounding causes erratic arcs, poor cut quality, and equipment damage.
- Test cuts on scrap before committing to your final material.
Why Cool CNC Plasma Projects Matter in Home Improvement
In the world of DIY home improvement, cool cnc plasma projects bridge the gap between utility and artistry. From custom shelving brackets and fire pit inserts to garden trellises and workshop organization systems, CNC plasma cutting empowers homeowners to fabricate durable, weather-resistant components that off-the-shelf hardware simply can’t match. Unlike wood or plastic, metal parts withstand heat, moisture, and wear—making them ideal for outdoor and high-stress applications.
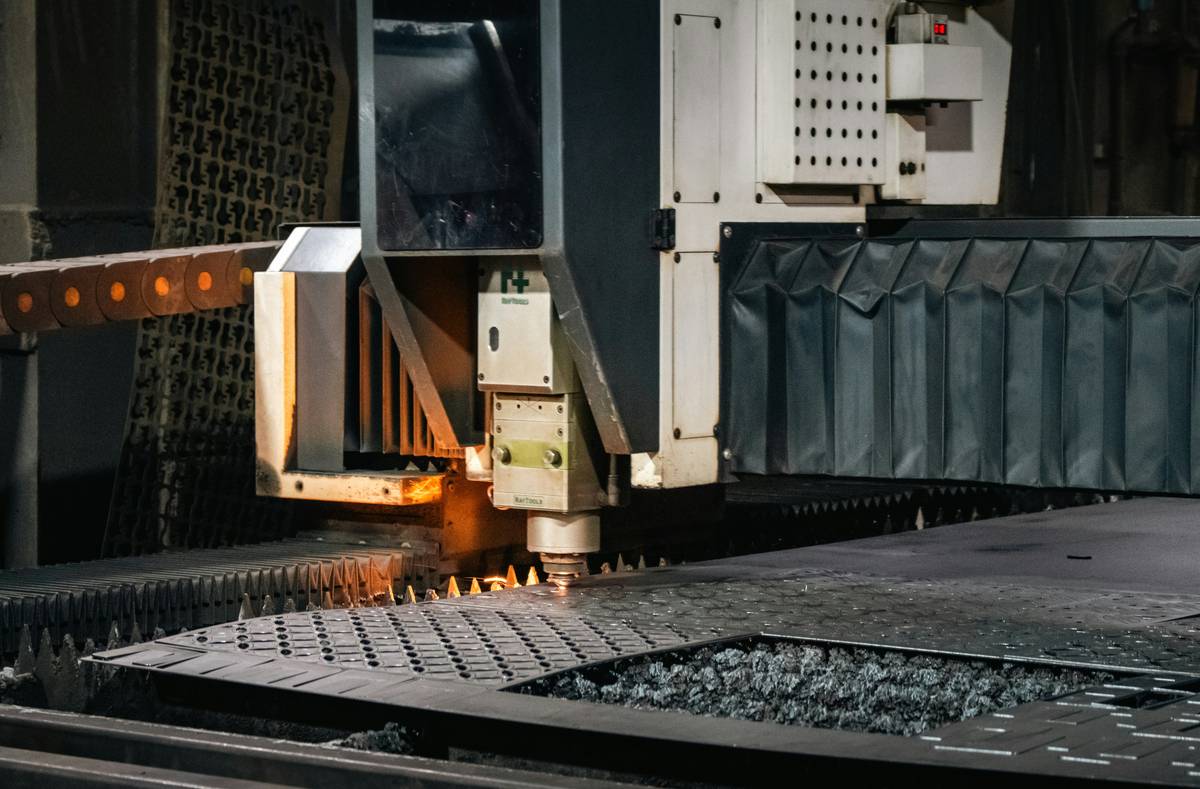
According to the Fabricators & Manufacturers Association (FMA), over 60% of small-scale metal fabricators now use CNC plasma systems for prototyping and custom work—a trend accelerating among skilled DIYers. But raw capability isn’t enough. Without understanding kerf width, pierce delay, and material conductivity, even the most exciting designs can fail during execution. That’s why technique matters just as much as the tool itself.
Step-by-Step Guide to Starting Your First Project
1. Choose the Right Material
Stick to mild steel under ¼ inch thick for your first few attempts. Stainless steel and aluminum require higher amperage and specialized gases (like nitrogen or argon-hydrogen mixes), which complicate setup. Mild steel cuts cleanly with shop air and is forgiving for beginners.
2. Design with Kerf in Mind
Kerf—the width of material removed by the plasma arc—is typically 0.06–0.1 inches. If your design has interlocking tabs or tight tolerances, offset your vectors outward by half the kerf value. Ignoring this caused my first shelf bracket to wobble like a drunk Jenga tower.
3. Generate Clean G-Code
Use free tools like SheetCam or paid options like Vectric Cut2D to convert DXF files into machine-readable paths. Always simulate the toolpath before running the cutter. A single reversed arc direction can ruin hours of work.
4. Secure and Ground Properly
Your workpiece must be flat and clamped securely to prevent vibration. More critically, ensure a solid ground connection directly to the material—not the table frame. Poor grounding leads to inconsistent arcs and premature nozzle wear.
Essential Tips for Flawless Results
- Keep consumables clean: A clogged swirl ring disrupts gas flow, causing beveled or rough edges. Replace nozzles every 5–10 hours of cutting time.
- Avoid the “go fast” trap: Cutting too quickly creates dross (re-solidified molten metal) on the bottom edge. Slow down until you see a smooth, consistent spark shower.
- Never cut galvanized steel indoors: Zinc fumes are toxic. Always work in a ventilated area or use an exhaust system—OSHA guidelines emphasize this for good reason (source).
- Ditch the “eyeball alignment” myth: Manual torch height adjustment sounds clever until your tip melts. Invest in a simple mechanical THC (Torch Height Control) or use manual touch-off routines before every job.
And here’s one terrible tip I’ve heard too often: “Just run it dry—lubrication ruins the cut.” Wrong. While plasma doesn’t need coolant like a mill, dry cutting increases heat buildup. A light mist of water on the table surface can drastically reduce warping and smoke.
Real-World Examples That Work
Last summer, I built a modular garden arbor using 16-gauge steel panels cut on a 40-amp CNC plasma table. The design featured interlocking leaf patterns—each panel cut in 12 minutes with zero post-processing. After powder coating, the structure has withstood two Midwest winters with no rust or deformation. Total material cost: $87.
Another user documented their plasma-cut workshop pegboard on a maker forum, reporting 90% faster tool retrieval times and full customization for oddly shaped tools like pipe wrenches. These aren’t fantasy builds—they’re practical, replicable wins rooted in smart technique.
Frequently Asked Questions
What thickness can a typical hobbyist CNC plasma cutter handle?
Most entry-level systems (40–50 amps) cleanly cut up to ¾ inch mild steel, but optimal detail work happens under ¼ inch.
Do I need CAD experience for cool cnc plasma projects?
Not necessarily. Free vector libraries like Thingiverse or GrabCAD offer ready-to-cut DXF files. Just verify scale and kerf offsets.
Can I use a handheld plasma cutter with a CNC router?
Strongly discouraged. Handheld units lack the mounting stability, consistent air pressure, and communication protocols needed for precision motion control.
How loud is a CNC plasma cutter?
Expect 95–110 dB—similar to a chainsaw. Always wear hearing protection and notify neighbors if working in a residential garage.
Are plasma-cut edges safe to touch?
Fresh cuts are extremely sharp. Always deburr edges with a file or sanding disc before handling. Safety first!
Where can I learn more about responsible metal fabrication?
Check our About Us page to see our engineering background, and review OSHA’s metalworking safety standards for home workshops.
Ready to transform scrap into statement pieces? Avoid the rookie errors, respect the arc, and start small. When you nail your first flawless cut, you’ll feel like a wizard with a lightning wand. Got questions we didn’t cover? Reach out to our team—we love geeking out over gear. And remember: every master was once a beginner who refused to quit after melting their third nozzle. Stay grounded, stay sharp.
Iron sings when cut true—listen close.