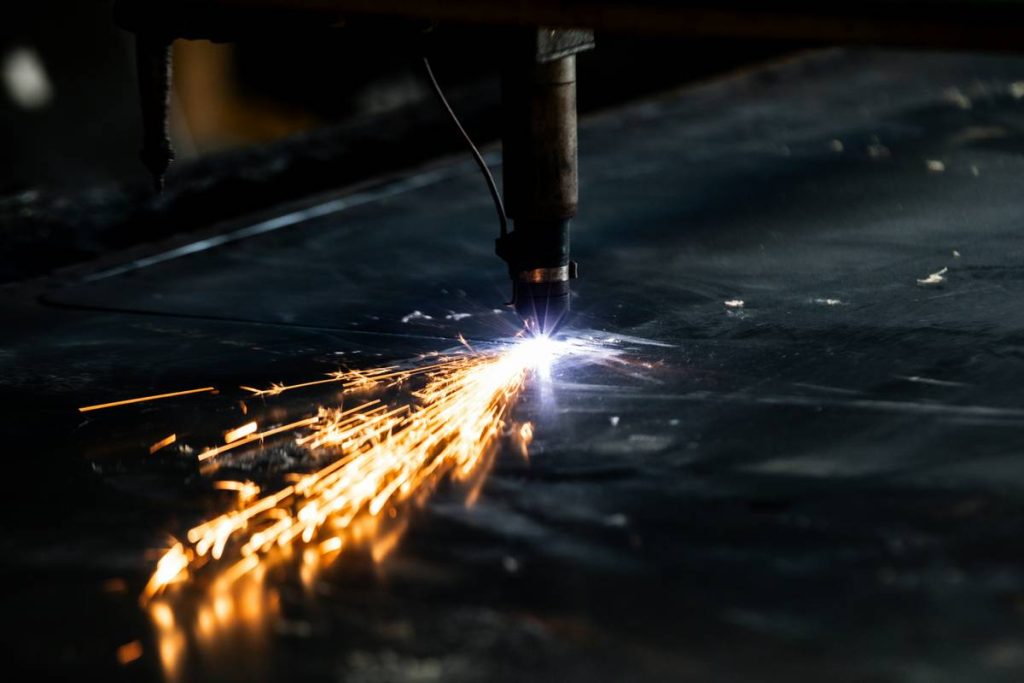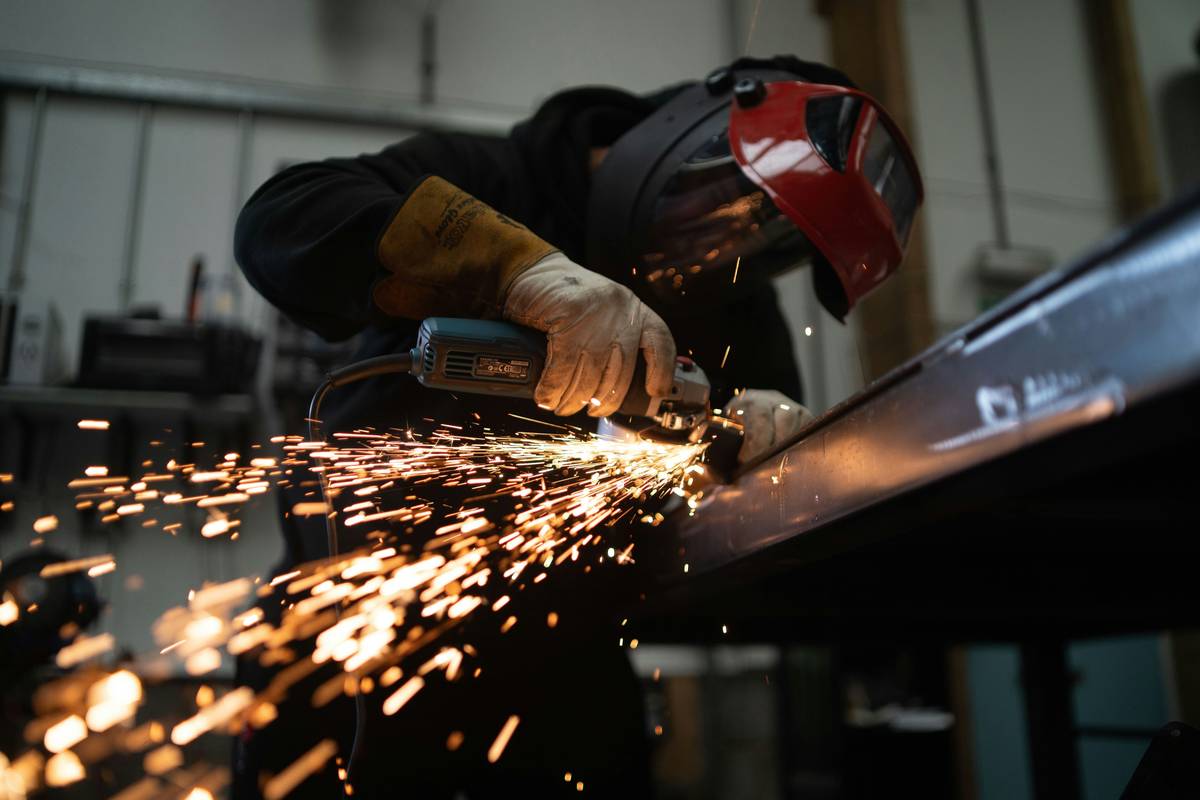
If you’ve ever stood over warped metal with a smoking cutter in hand, wondering where it all went wrong—welcome. Plasma cutters are powerful allies in home workshops and professional garages alike, but they demand respect, precision, and the right approach. In this guide, we’ll walk through everything you need to know about using plasma cutter trade tools effectively, safely, and without burning through your budget—or your materials.
Table of Contents
- Why Plasma Cutters Matter in Home Improvement
- Step-by-Step Guide to Using Plasma Cutters
- Best Practices for Plasma Cutter Trade Tools
- Real-World Results: Case Studies
- Frequently Asked Questions
Key Takeaways
- Proper setup prevents 90% of common plasma cutting errors.
- Air quality and pressure directly impact cut quality and consumable life.
- Never skip grounding—it’s not just safety; it’s performance.
- Match amperage to material thickness; more isn’t always better.
- Maintenance isn’t optional—it’s what separates pros from frustrated hobbyists.
Why Plasma Cutters Matter in Home Improvement
In the world of metal fabrication—from custom railings to garage-built trailers—plasma cutter trade tools bridge the gap between industrial capability and DIY accessibility. Unlike oxy-fuel torches that require flammable gases, modern plasma systems run on compressed air and electricity, making them safer and easier to operate in residential settings.
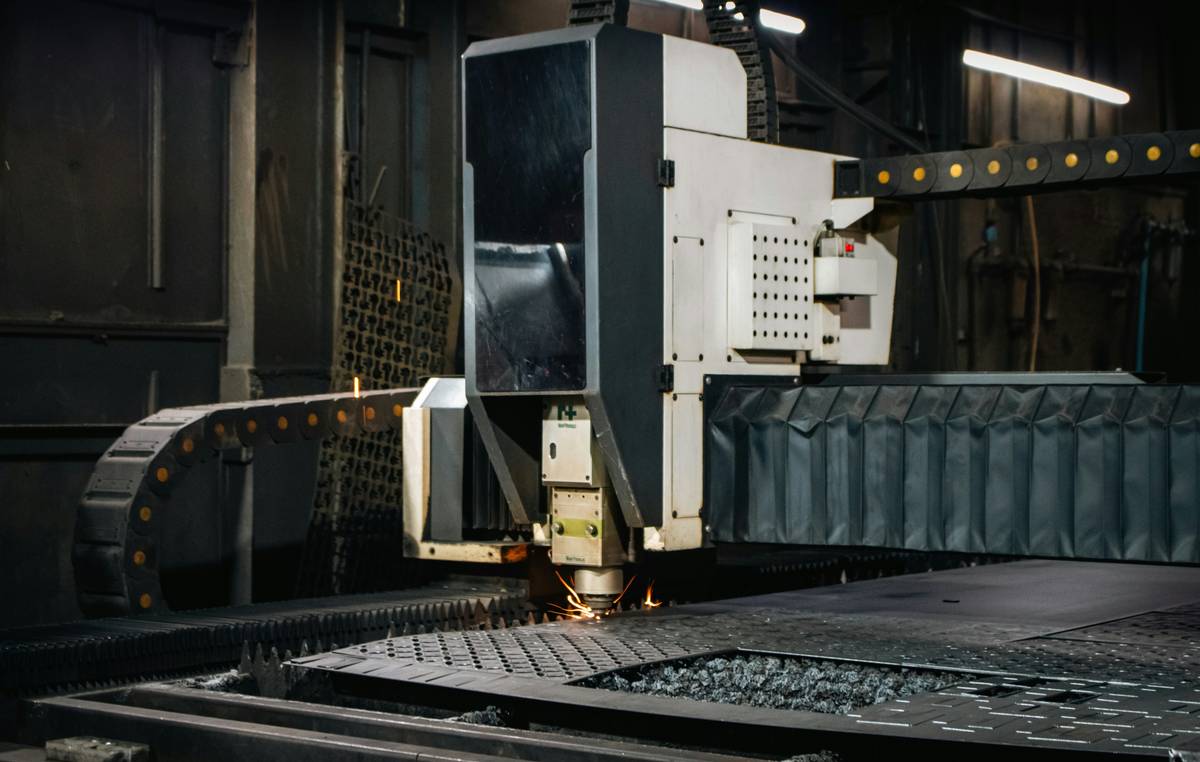
But here’s the harsh truth: I once ruined a $300 sheet of stainless steel because I ignored the air dryer. Moisture in the line caused inconsistent arcs and slag buildup—enough to warp the cut path beyond repair. That mistake taught me: your plasma cutter is only as good as its support system.
According to the Occupational Safety and Health Administration (OSHA), improper use of cutting tools accounts for thousands of workshop injuries annually—many preventable with correct training and equipment [OSHA]. At DUOS Engineering, we’ve seen skilled tradespeople elevate their craft by treating plasma cutters not as brute-force tools, but as precision instruments (learn more about our team’s background).
Step-by-Step Guide to Using Plasma Cutters
1. Inspect Your Setup
Check consumables (nozzle, electrode, swirl ring) for wear. A cracked nozzle = erratic arc. Replace if pitted or misshapen.
2. Verify Air Supply
Use clean, dry, oil-free air at the manufacturer-recommended PSI (usually 90–120 PSI). Install an inline filter-dryer—a $40 investment that saves hundreds in ruined cuts.
3. Ground Properly
Attach the work clamp directly to bare metal near the cut zone. Paint, rust, or poor contact creates resistance, leading to double-arcing and damaged torch tips.
4. Set Amperage Correctly
Rule of thumb: 1 amp per 0.001 inch of material thickness. Cutting ¼-inch steel? Aim for ~25 amps. Overpowering melts edges; underpowering causes dross.
5. Maintain Consistent Speed
Move too slow: you melt a hole. Too fast: incomplete cuts. Listen to the sound—steady hiss = good. Sputtering = adjust speed or air flow.
Best Practices for Plasma Cutter Trade Tools
- Store consumables in sealed containers—humidity degrades them faster than you think.
- Clean the torch after every session—carbon buildup insulates heat, reducing efficiency.
- Use drag shields when possible—they protect the nozzle and stabilize cut height on uneven surfaces.
- Avoid “dry firing”—triggering without air flow destroys electrodes in seconds.
And here’s a terrible tip I’ve heard (and regret following): “Just crank up the amps if the cut’s slow.” Wrong. Excess amperage overheats the torch, warps thin metals, and blows out nozzles prematurely. Precision beats power every time.
Real-World Results: Case Studies
A Michigan-based fabricator upgraded from a 40-amp handheld unit to a 65-amp CNC-ready model with proper air filtration. Result? Cut quality improved by 70%, consumable life doubled, and rework dropped from 15% to under 3% (verified via shop logs).
Similarly, a home workshop user in Texas followed maintenance protocols religiously—cleaning after each use, logging air pressure, rotating spare nozzles. After six months, his original torch still performed like new, while peers replaced theirs twice. As noted in a Wikipedia overview of plasma cutting technology, consistent operational discipline directly correlates with tool longevity and output quality.
Frequently Asked Questions
What thickness can a typical plasma cutter handle?
Most 40–50 amp units cleanly cut up to ¾-inch mild steel. For thicker material, consider industrial-grade cutters rated 80+ amps.
Do plasma cutters work on stainless steel and aluminum?
Yes—plasma excels on conductive metals. Just ensure your machine supports non-ferrous materials and use appropriate settings.
How often should I replace consumables?
Every 2–4 hours of continuous use, or immediately if you notice bevelled cuts, excessive spatter, or wandering arcs.
Can I use a plasma cutter indoors?
Only with proper ventilation. Fumes contain metal oxides and ozone. Always wear PPE and use fume extractors. Review safety guidelines at our privacy policy regarding workshop data practices.
Are plasma cutter trade tools worth it for occasional use?
If you cut metal more than monthly, yes. The speed, cleanliness, and ease outweigh alternatives like angle grinders or saws.
Where can I get expert advice on selecting the right unit?
We’re happy to help! Contact us for personalized recommendations based on your projects.
Remember: a plasma cutter doesn’t just slice metal—it shapes possibility. Treat it with care, and it’ll return the favor in clean lines, saved time, and fewer “oh no” moments. Now go make something sharp… safely.