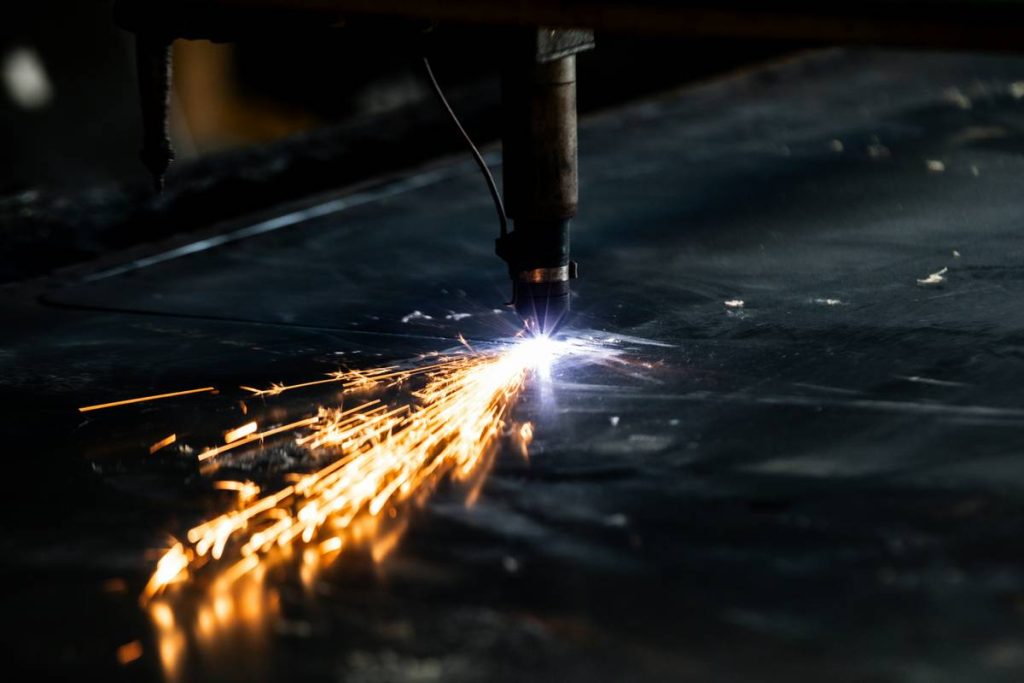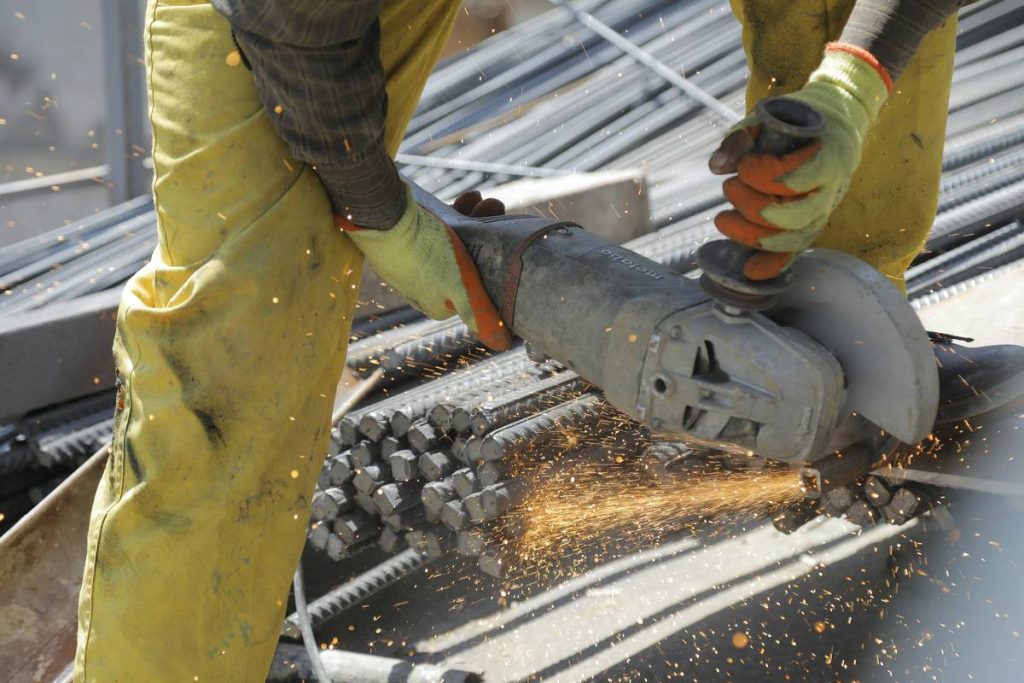
If you’ve ever scorched a metal sheet while trying to cut a clean line—or worse, fried your plasma cutter because of a simple oversight—you’re not alone. Plasma cutting is powerful, precise, and incredibly useful for DIYers and pros alike, but it’s easy to mess up if you skip the basics. In this guide, we’ll walk you through essential plasma cutting tips and tricks that blend real-world experience with industry best practices—so you get clean cuts, longer consumable life, and fewer headaches.
Table of Contents
- Why Plasma Cutting Matters in Home Improvement
- Step-by-Step Guide to Effective Plasma Cutting
- Best Practices & Pro-Level Tips
- Real-World Results: Case Studies
- Frequently Asked Questions
Key Takeaways
- Proper air pressure and dryness prevent torch damage and poor cuts.
- Drag cutting isn’t always wrong—but know when to use standoff cutting instead.
- Consumables wear out faster than you think; inspect before every job.
- Grounding matters just as much as the torch itself.
- Never skip a test cut on scrap metal first.
Why Plasma Cutting Matters in Home Improvement
For garage fabricators, hobby welders, or weekend renovators tackling metal gates, brackets, or custom railings, plasma cutters offer speed and precision unmatched by angle grinders or oxy-fuel torches. But without the right technique, you risk jagged edges, excessive dross, or even equipment failure. I learned this the hard way: during a backyard gate project, I skipped checking my air filter—and ended up with a melted nozzle and a $120 lesson in compressed air quality.
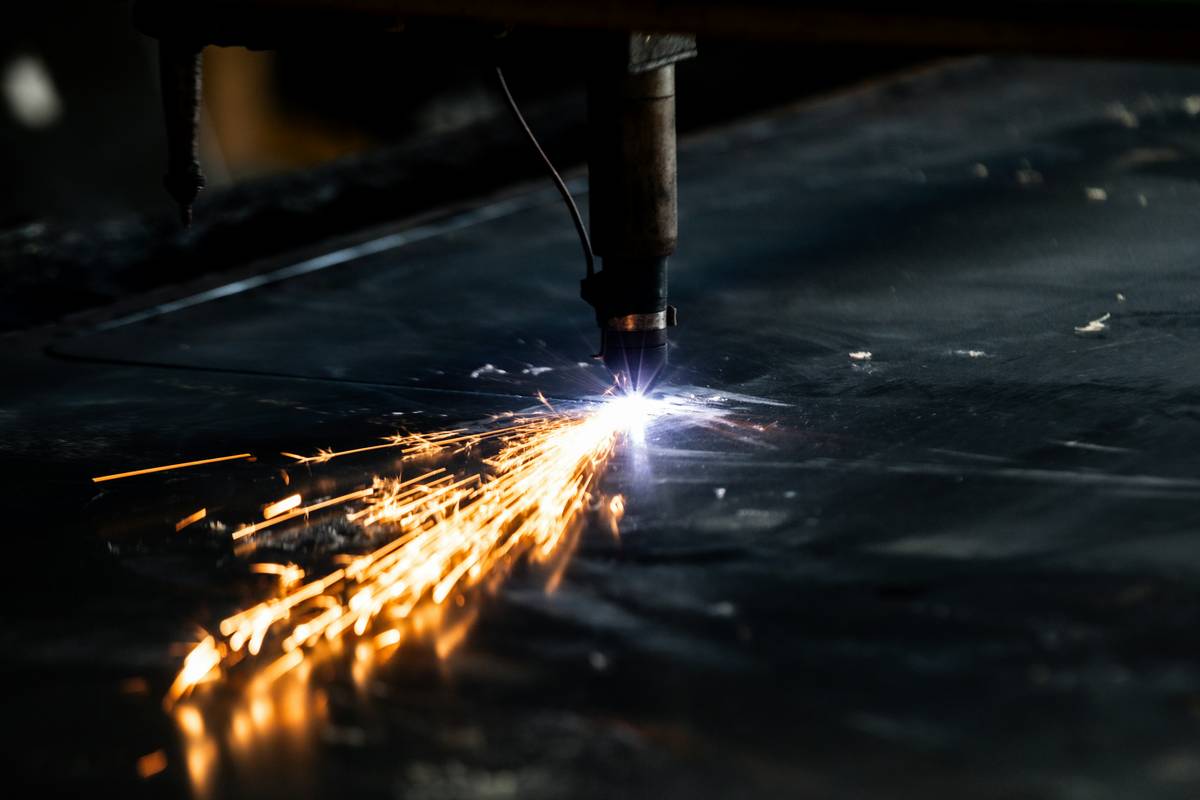
Step-by-Step Guide to Effective Plasma Cutting
1. Prep Your Air Supply
Moisture and oil in your air line are silent killers. Use a quality inline filter/dryer. According to the OSHA guidelines on industrial compressed gas, contaminated air not only damages consumables but can create unsafe arc conditions.
2. Secure Proper Grounding
Attach the ground clamp directly to the workpiece—not the table or nearby metal. Poor grounding causes erratic arcs and inconsistent cuts.
3. Choose the Right Amperage
Match amperage to material thickness. As a rule: 1 amp per 0.001 inch of steel. Cutting 1/4″ mild steel? Aim for 25 amps.
4. Maintain Correct Travel Speed
Too slow = excessive dross and warped metal. Too fast = incomplete cuts. Listen to the sound: a steady hiss means you’re golden; a sputter means adjust.
Best Practices & Pro-Level Tips
- Inspect consumables before every use. A worn electrode or nozzle drastically reduces cut quality—even if the machine powers on fine.
- Use drag shields for thin metal (under 1/8″). They stabilize the torch and protect the nozzle—but switch to a standoff for thicker stock.
- Cut perpendicular, not angled. Tilting the torch creates beveled edges and weakens structural integrity.
- Never cut painted or galvanized metal without ventilation. Toxic fumes are no joke—wear respirators and work outdoors or with proper exhaust. The CDC’s NIOSH welding safety page details the risks of zinc oxide exposure from galvanized steel.
- Avoid the “terrible tip”: Don’t crank amperage to max “just to be safe.” Overpowering causes rapid consumable wear and rough cuts.
Real-World Results: Case Studies
Last year, a small fabrication shop reduced consumable costs by 38% after implementing strict air filtration and pre-cut inspection routines—directly applying these plasma cutting tips and tricks. Another DIYer fixed chronic dross issues simply by switching from a rusty bench clamp to a direct-workpiece ground connection. These aren’t theoretical fixes; they’re field-tested solutions that save time, money, and metal.
At DUOS Engineering, we’ve seen firsthand how proper technique transforms outcomes. That’s why our team emphasizes training alongside tool sales—learn more on our About Us page.
Frequently Asked Questions
What’s the biggest mistake beginners make with plasma cutters?
Ignoring air quality. Moisture corrodes internal components and causes inconsistent arcs. Invest in a good air dryer—it pays for itself in weeks.
Can I use a plasma cutter on stainless steel or aluminum?
Yes! Plasma works on any conductive metal. Just ensure your machine’s amperage range supports the thickness, and use appropriate settings.
How often should I replace consumables?
It depends on usage, but inspect before every job. Electrodes show wear as a deep pit (>1/32″), and nozzles develop oval-shaped orifices. When in doubt, swap them.
Is drag cutting bad for my torch?
Not if done correctly on thin materials with a drag shield. But never drag-cut on thick metal—it forces molten slag into the nozzle.
Do I need special safety gear?
Absolutely. Wear auto-darkening helmets, flame-resistant clothing, hearing protection, and gloves. For more on data handling during tool registration, see our Privacy Policy.
Where can I get professional advice on plasma cutters?
We’re happy to help! Visit our Contact Us page for personalized recommendations based on your projects.
Mastering plasma cutting isn’t about brute force—it’s about finesse, preparation, and respecting the physics of ionized gas. Nail these plasma cutting tips and tricks, and you’ll cut cleaner, last longer, and avoid those rookie errors that burn holes in budgets (and metal). Ready to upgrade your setup? We’ve got your back—just reach out. And remember: a clean cut starts long before the trigger clicks.