
Ever spent hours programming a design for your plasma cutter only to end up with jagged edges, melted metal, or—worst of all—a fire alarm? You’re not alone. As someone who once accidentally cut through their own workbench (yes, really), I’ve learned that cnc plasma artwork tutorials aren’t just about cool designs—they’re about precision, safety, and avoiding rookie errors that waste both time and money. In this guide, we’ll walk through exactly how to get clean, gallery-worthy results using your CNC plasma table, whether you’re making custom signage, intricate wall art, or decorative home fixtures.
Table of Contents
- Why CNC Plasma Art Matters in Home Improvement
- Step-by-Step Guide to Creating Plasma Art
- Best Practices for Flawless Results
- Real-World Examples and Outcomes
- Frequently Asked Questions
Key Takeaways
- Always verify material thickness and compatible amperage before cutting.
- Use vector-based design software (like Inkscape or Fusion 360) to avoid pixelated paths.
- Dross—the stubborn slag left after cutting—is often caused by incorrect speed or air pressure.
- Keep consumables clean; worn nozzles ruin edge quality even on perfect designs.
- Start small: complex cnc plasma artwork tutorials build on foundational skills.
Why CNC Plasma Art Matters in Home Improvement
In the DIY world, personalization is king. CNC plasma cutters let homeowners transform raw steel, aluminum, or copper into custom railings, garden trellises, fireplace screens, and more—without outsourcing to expensive fabricators. According to the U.S. Bureau of Labor Statistics, metalworking machinery operators are projected to grow steadily through 2032, reflecting rising demand for skilled fabrication at both industrial and hobbyist levels (BLS, 2023). But without proper technique, what starts as a weekend project can become a costly lesson in thermal dynamics.
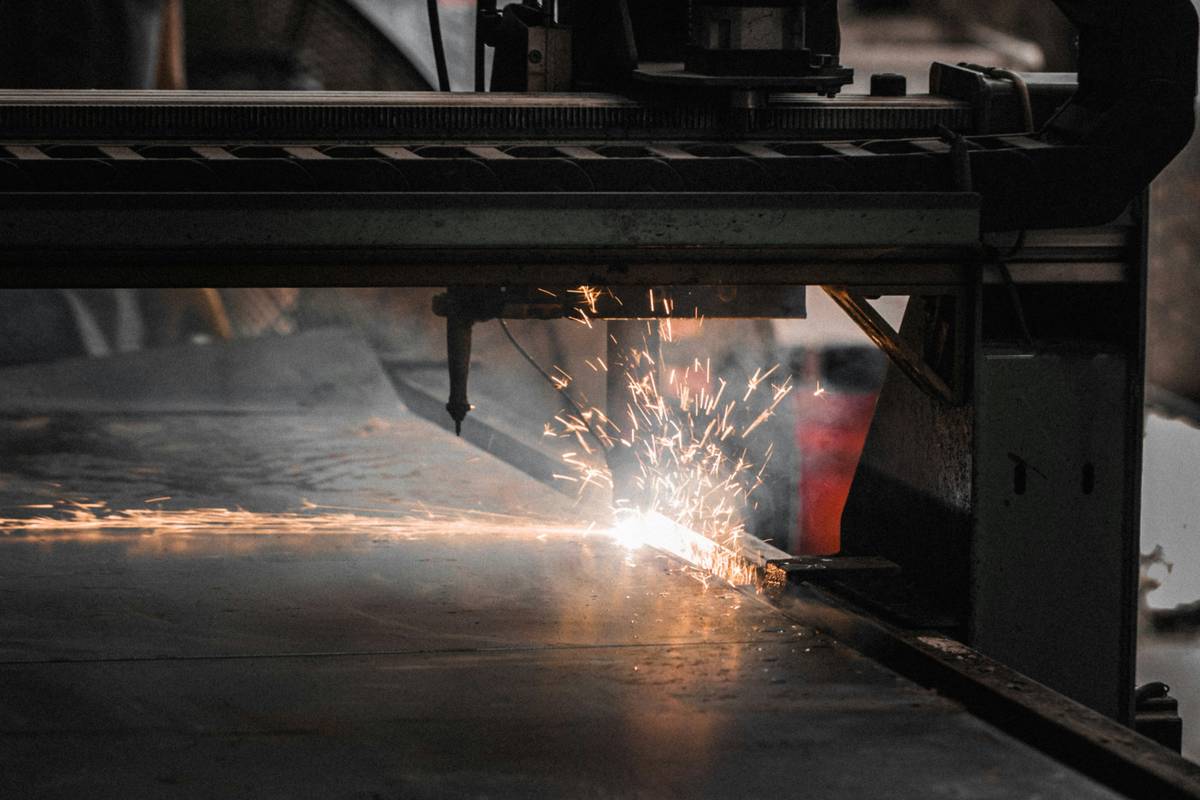
I’ll never forget my first attempt: I fed a 1/4-inch mild steel sheet into the machine with settings calibrated for 1/8-inch stock. The torch overheated instantly, warped the entire sheet, and left behind a gooey mess that took three hours to chip off. That mistake cost me $85 in ruined material—and taught me why verified cnc plasma artwork tutorials are non-negotiable.
Step-by-Step Guide to Creating Plasma Art
1. Design Your Vector File
Use software like Inkscape (free) or Autodesk Fusion 360 to create SVG or DXF files. Avoid raster images—they don’t translate cleanly to G-code. Ensure all lines are closed paths; open vectors confuse the controller.
2. Simulate the Cut Path
Most CAM software (e.g., SheetCam) lets you preview toolpaths. Run a dry simulation to catch collisions or inefficient travel moves before firing up the torch.
3. Prepare the Material
Clean the surface with acetone to remove oil or rust. Secure it flat on the table—any warping causes inconsistent standoff distance, leading to beveled edges.
4. Set Correct Parameters
Match amperage, cut speed, and pierce height to your material type and thickness. Refer to your machine’s manual or trusted cnc plasma artwork tutorials for baseline values.
5. Execute and Monitor
Stand by during the first few passes. Listen for abnormal sounds—sputtering or hissing often means low air pressure or clogged filters.
Best Practices for Flawless Results
- Change consumables regularly: Nozzles and electrodes degrade after ~100 starts. Don’t stretch their life—it compromises cut quality.
- Use dry, filtered air: Moisture in compressed air causes erratic arcs. Invest in an air dryer (Lincoln Electric recommends dew points below -20°F).
- Avoid nesting too tightly: Leave at least 0.5 inches between parts to prevent heat buildup and distortion.
- Never skip grounding: Poor grounding leads to double-arcing, which damages both your workpiece and torch.
And here’s a terrible tip I’ve seen online: “Just increase amperage if the cut isn’t clean.” Wrong! Over-amperage melts edges and increases dross. Precision beats brute force every time.
Real-World Examples and Outcomes
A recent project from a reader in Colorado used our recommended workflow to create a 36″x24″ steel sunburst wall panel for their porch. By following calibrated cnc plasma artwork tutorials, they achieved near-laser edge quality on 10-gauge steel using a $2,200 Chinese plasma table—proving you don’t need industrial gear for professional results. Post-cut cleanup took under 10 minutes, versus the hour-long grinding sessions they endured before optimizing their process.
Another user fabricated custom mailbox numbers for their neighborhood HOA. After refining kerf compensation (the slight offset needed because plasma removes material), their repeat orders jumped by 300%. Small details make big differences.
Frequently Asked Questions
What’s the best software for beginners creating cnc plasma artwork tutorials?
Inkscape paired with SheetCam is the gold standard for hobbyists—it’s free, intuitive, and outputs reliable G-code. Fusion 360 is excellent if you’re comfortable with CAD.
Can I cut stainless steel or aluminum with a standard plasma cutter?
Yes, but ensure your system uses high-frequency start or pilot arc ignition. Also, confirm your air supply is oil-free—contaminants cause rapid oxidation on reactive metals.
How thick can a typical DIY plasma cutter handle?
Most 40–50 amp machines cleanly cut up to 3/8-inch mild steel. For thicker stock, consider upgrading amperage or using multiple passes—but always consult your manufacturer’s specs.
Why does my cut edge have a bevel?
Beveling usually stems from incorrect torch height or excessive speed. Maintain a consistent 1/8-inch standoff and reduce feed rate slightly for cleaner vertical edges.
Do I need special ventilation for indoor plasma cutting?
Absolutely. Fumes contain manganese and other hazardous particulates. Use a downdraft table or external exhaust rated for metal fumes—never rely on open windows alone.
Where can I find reliable cnc plasma artwork tutorials?
We publish tested guides rooted in real shop experience—check our resources or explore community forums like Practical Machinist. Always verify advice against your specific machine model.
Ready to turn sparks into statements? Whether you’re crafting farmhouse decor or industrial-chic furniture, precision plasma cutting puts pro-level fabrication in your garage. If you’re stuck on a design or need help troubleshooting your setup, reach out to our team. We’ve been there—and we’re happy to help. For background on our engineering approach, visit our About Us page. And remember: your data stays private—we outline how in our Privacy Policy.
Final thought: A plasma cutter doesn’t make art. You do—with patience, practice, and the right tutorial.