If you’ve ever stared at a twisted piece of scrap metal wondering why your “simple” plasma-cut design looked like it survived a demolition derby, you’re not alone. CNC plasma cutting projects blend precision engineering with creative fabrication—but one wrong move can melt your budget faster than your torch melts steel. In this guide, we’ll walk you through real-world strategies, hard-won lessons, and actionable steps to deliver clean, professional-grade results every time.
Table of Contents
- Why CNC Plasma Cutting Projects Matter in Home Improvement
- Step-by-Step Guide to Starting Your First CNC Plasma Cutting Project
- Best Practices for Clean and Efficient Cuts
- Real-World Examples of Successful DIY Plasma Fabrication
- Frequently Asked Questions
Key Takeaways
- Always verify material thickness against your machine’s amperage rating—overloading causes dross and warping.
- Use CAD software with nesting features to minimize waste; even seasoned fabricators save 15–20% on material this way (per SME.org).
- Pilot holes are non-negotiable for enclosed cuts—skipping them risks nozzle damage and incomplete profiles.
- Grounding isn’t optional: poor electrical contact leads to erratic arcs and ruined workpieces.
- Start small. A custom garden trellis teaches more than any YouTube tutorial.
Why CNC Plasma Cutting Projects Matter in Home Improvement
In the realm of DIY home upgrades, few tools merge artistry and utility like a CNC plasma cutter. From bespoke railings and fire pit designs to custom brackets for garage storage systems, these machines empower homeowners to create functional metalwork that off-the-shelf hardware stores simply don’t carry. What once required a professional metal shop is now accessible thanks to affordable desktop CNC plasma tables under $2,000.
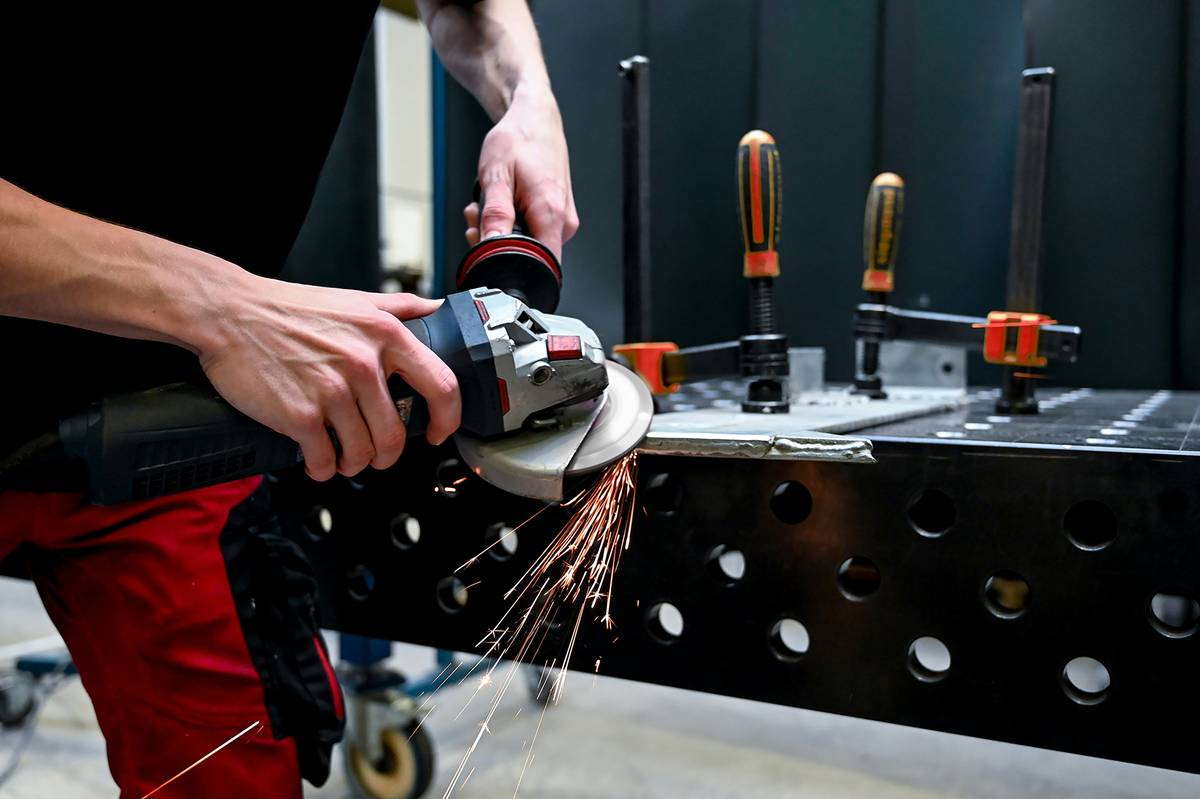
I learned this the hard way during my first attempt at building a pergola bracket. I assumed my 40-amp cutter could handle 3/8-inch mild steel—turns out, it maxes out cleanly at 5/16 inch. The result? A warped, slag-covered mess that took three grinding sessions to salvage. According to OSHA guidelines on metal fabrication safety, understanding equipment limitations isn’t just about quality—it’s critical for preventing fires and electrical hazards (OSHA Metal Fabrication Standards).
Step-by-Step Guide to Starting Your First CNC Plasma Cutting Project
Design Your Part in CAD Software
Use free tools like Fusion 360 or paid options like SheetCam. Ensure kerf width (typically 0.06–0.1 inches) is accounted for so interlocking parts fit snugly.
Prepare Your Material
Clean rust, paint, and oil from the surface. Any contamination disrupts the electrical arc. Clamp the sheet securely and verify flatness—warped stock causes inconsistent standoff distance.
Set Up Grounding and Air Supply
Attach the ground clamp directly to the workpiece, not the table frame. Use dry, oil-free compressed air at the PSI specified by your torch manufacturer (usually 60–90 PSI).
Run a Test Cut
Before committing to your final piece, cut a small test shape. Check for bevel angle (should be under 2°), dross buildup, and edge smoothness.
Best Practices for Clean and Efficient Cuts
- Don’t trust “auto” modes blindly. Manual speed control often yields better results on thin gauge metals.
- Change consumables proactively. Worn nozzles and electrodes cause wandering arcs. Replace them every 15–20 hours of cutting time.
- Avoid the terrible tip: “Just hold the torch steady by hand.” Never bypass the CNC gantry for manual cutting mid-job—it ruins accuracy and voids warranties.
- My pet peeve? People using wet-table setups without fume extraction. Plasma cutting produces hazardous metal fumes (zinc oxide, manganese)—always use proper ventilation or wear a NIOSH-approved respirator (CDC Welding Fume Guidelines).
Real-World Examples of Successful DIY Plasma Fabrication
A homeowner in Oregon used our recommended workflow to build a 4×8-foot privacy screen from 14-gauge steel. By nesting all 32 panels in LightBurn software, he reduced material waste by 18% compared to manual layout. The total project cost: $220 in steel versus $400+ for pre-fab alternatives. Another example: a backyard workshop owner crafted adjustable shelf brackets for a pegboard system—each bracket took 90 seconds to cut, and the entire batch was completed in under an hour. These cnc plasma cutting projects prove that with planning, even complex metalwork becomes weekend-friendly.
At DUOS Engineering, we’ve seen customers transform garages into micro-factories. Learn more about our philosophy on precision tooling on our About Us page.
Frequently Asked Questions
What thickness of metal can a typical hobbyist CNC plasma cutter handle?
Most 40–50 amp desktop units cleanly cut up to 5/16-inch mild steel. For stainless or aluminum, reduce capacity by 20–30% due to higher melting points.
Do I need CAD experience to start cnc plasma cutting projects?
No—but basic vector drawing skills help. Many users start with free DXF files from sites like GrabCAD before designing originals.
How much does gas or air consumption cost per project?
Using compressed air (most common), expect 4–6 SCFM at 90 PSI. A standard 60-gallon tank lasts ~20 minutes of continuous cutting—roughly $0.50 in electricity per hour.
Can I cut galvanized steel safely?
Technically yes, but zinc fumes are extremely toxic. Only do so outdoors with full respiratory protection—and never indoors without industrial fume extraction.
Why do my cuts have excessive dross?
Usually caused by slow travel speed, worn consumables, or incorrect amperage. Match speed charts provided by your plasma cutter manufacturer exactly.
Ready to turn raw steel into something stunning? Don’t let fear of mistakes hold you back—every master fabricator started with a botched bracket. If you’re unsure about machine specs or project feasibility, reach out to our team. And remember: your data stays protected—we outline how in our Privacy Policy.
Final thought: Measure twice, cut once… then measure again before you plasma.